
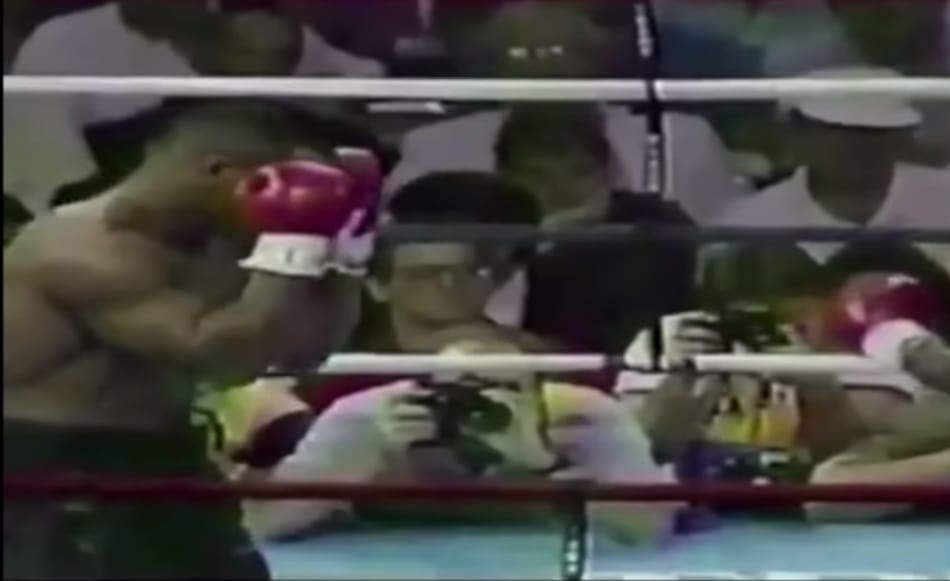
The first things you need to choose in boxing are your stance and your guard. You probably already know about the basic stance and guard (and if you don’t, don’t worry, we are going to talk about them in a minute).
But what nobody teaches you are the other stances, you can use, depending on your style of fighting or on the situation. And this is what we are going to discuss in this guide – all the possible boxing stances and guards, their advantages, their drawbacks and in which situations you can use them.
The basic boxing stance and guard
Stance – To get in a basic boxing stance, first, you need to imagine a line under your feet – right between them. Your front foot toe and your back foot heel need to be on that line and they should be a little wider than shoulder length apart (the front foot is your weak foot). The angle between the back foot and the imaginary line should be 60-70 degrees and roughly 45 (or less) degrees for the front foot angle. Lift your back foot heel slightly off the ground – that will increase your mobility. Bend your knees a little (for better balance and more power). The weight should be on both your feet.
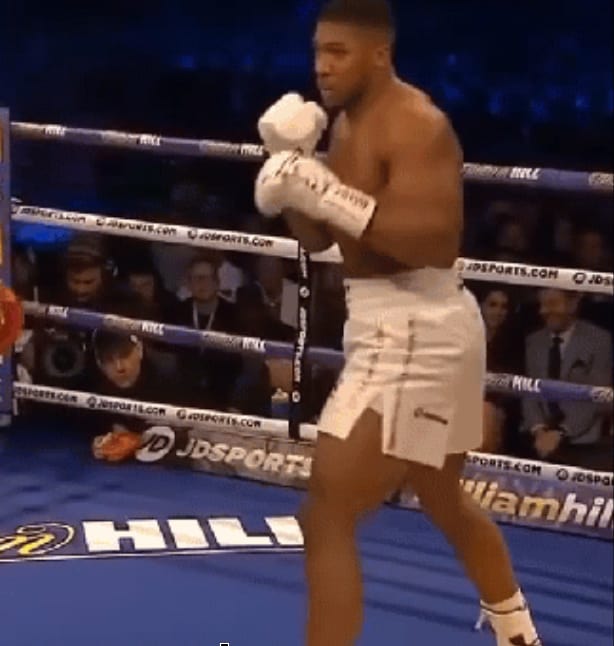
Guard – Keep your rear hand (your stronger hand) on your cheek, protecting the chin – the palm should be facing you. Your lead hand should be roughly 7 inches in front of your chin. Keep the elbows and the chin tucked in. That way you will be able to protect your body from hooks and uppercuts and also it will be hard for your opponent to land a clean shot on the chin. And that’s very important because most of the knockouts are caused by a shot in the chin.
A combination of the basic stance and the basic guard is perfect for beginners.
Is there a proper boxing stance and guard?
In my opinion, there is no such thing as a proper boxing stance or proper boxing guard. Because the different boxers use different stances and guards depending on their style. The stance and the guard that boxers use also depends on the defensive/offensive techniques they use most often. Some stances and guards allow you to do certain things but don’t allow you to do others. That’s why there isn’t a “perfect boxing stance/guard”.
But there is a conventional boxing stance that is recommended for beginners (which I described above). If you are an experienced boxer you probably won’t need it, but if you are new to the sport this stance is probably the best option for you. It allows you to move quickly, to attack but also to easily defend yourself. It’s a good idea to start with the basic stance and after you gain some experience, you can try something else that gives you more options.
Advanced stances and guards
By using some unorthodox guard and stances you can get different advantages. For example, some of them are great for offense while others for defensive techniques and mobility.
Scoring
I scored all the following attributes of the guards and stances, which I described in this article, using a 10-point scale. Here are the attributes:
- Power
- Offense
- Defense
- Range
- Balance
- Mobility
We are going to discuss all the pros and cons of the different boxing stances and guards so you can see which one is the best option for you. We will also take into account what strategies the athletes of the different combat sports, other than boxing are using and how we can apply it in boxing. I am talking about combat sports such as Muay Thai, Kickboxing, Taekwondo etc.
Types of boxing stances
It’s important to understand that you don’t need to use only one guard or stance all the time. You can switch them during the fight, depending on the situation. After a minute, I will give you examples in which situation you should use the different guards and stances and also when they aren’t effective.
*By “stance” I mean the placement of your feet when boxing. And by “guard”, I mean the positioning of your hands and upper body. Some people may say that those are synonyms, but I want to discuss them separately because you can do a combination of different stances and guards.*
We are going to start with the feet positioning (your stance). But first, I want to make sure you know what is the difference between an orthodox and a southpaw stance.
Orthodox vs Southpaw stances
The vast majority of the boxers use the orthodox stance. For this stance, your left hand and left foot are in front of you, while your right hand and foot are at the rear. The southpaw stance is the complete opposite – the right hand and foot are in front of the boxer and the left hand and the left foot are at the rear.
Most of the times the orthodox fighters are right-handed, while the majority of the southpaws are lefties (although there are some right-handed southpaws and left-handed orthodox boxers). The idea is to put your weaker side closer to your opponent, while your stronger side (your stronger leg and hand) at the rear. That way you can generate more momentum and hit harder with your rear hand (the stronger one).
When two boxers in opposite stances are fighting, both fighters are mirroring each other. In such situations, usually, the southpaw boxers have an advantage because of the southpaw strategy they can use against the orthodox fighters.
So after you know if you are an orthodox or a southpaw boxer is time to dive into the different stances you can use:
Basic stance
Power: 5/10
Range: 5/10
Balance: 5/10
Mobility: 5/10
The basic stance is the first one your coach will teach you when you start boxing. This is not a defensive stance, neither offensive one. It’s something in the middle. It allows you to attack and move back quickly without losing balance, which is really important, (especially when you’re a beginner).
Although this is a basic stance, it’s really effective. Even some professional boxers, such as Manny Pacquiao or Vasyl Lomachenko, use it.
Pros: Very balanced stance (good defense and offense). It’s great for beginners.
Cons: Too ordinary. Using it you won’t get any special advantages like when using some of the other stances.
Wide stance
Power: 9/10
Range: 3/10
Balance: 8/10
Mobility: 2/10
When using the wide stance, your feet should be stretched out more, than when using the basic stance. Also, your knees should be bent a little bit more. That way you will be much more stable and you will be able to generate more power (because of the leverage your lowered stance gives you). The wide stance is great for hard punchers and boxers who like to counter. The fighters who use it basically trade mobility and reach for power.
How to do it:
It’s very similar to the basic stance with a few differences. The first one is the greater distance between your feet (roughly about shoulder length + 1/3). Your knees should be bent a little bit more. That’s important because this stance gives you better balance but only if you bend your knees enough. Otherwise, you can lose balance easily when getting punched or even when your opponent just pushes you.
The last difference is that your back foot heel shouldn’t be always lifted off the ground. Boxers do this to improve their mobility, but when using a wide stance, your focus is on the power rather than movement. So your feet should be planted.
Pros: More power in your punches and better balance.
I recommend using this stance when your opponent closes the distance but you want to stand your ground instead of moving backward. It can be also effective when you want to counter with a powerful shot as the other boxer comes into you. It can also be used in close distance, for example when you are pressing your opponent against the ropes.
You can use the wide stance even when brawling and trying to knock your opponent out. Actually, it’s effective in every static situation (when you don’t need to move to reach your opponent).
Cons: Poor mobility and lack of reach.
When using the wide stance your feet are planted so you won’t be able to move quickly and to use your full reach. That’s because your rear hand is far away from your opponent so it will be hard to catch him if he keeps a distance.
Also, chances are your legs will get tired quickly because you need to keep your knees bent more than usual all the time. So better use this stance only when your opponent is close enough to you so you don’t need to move to catch him. Be mobile and quick for the rest of the fight. Otherwise, a fast boxer with a longer reach than you will outbox you easily.
Sideways stance
Power: 4/10
Range: 8/10
Balance: 3/10
Mobility: 9/10
This stance is used in martial arts such as taekwondo and karate. But in some situations, it can be applicable in boxing also. That’s because it gives you great mobility and range, especially for your lead hand. The other benefit of the sideways stance is that when you use it, you become a narrow target so it’s harder for your opponent to catch you.
How to do it:
The sideways stance is almost the same as the basic one. Again you need to imagine a line under your feet. But this time your front foot toe and the balls on your rear foot need to be on that line. Your rear foot should be almost right behind your front foot and both feet should be almost parallel to each other. You can lift your rear foot heel off the ground slightly. And you can shift the weight between your legs during the fight (something like the pendulum step).
Pros: Great stance for creating and maintaining a distance and for “in-and-out-movement”. More reach with the jab and more power in the rear hand cross.
As I already mentioned, this stance is used in Taekwondo which is a martial art which requires a lot of movement. So by using the sideways stance in boxing, you can really improve your mobility and movement speed. As I already mentioned, it’s a great stance when it comes to in-and-out-movements, so you can use it to attack your opponent quickly and then to quickly go back to a safe distance.
The other cool thing about it is that in a sideways stance you become a narrow target, which is great for your defense. Also with this stance, you can use the maximum reach of your jab. And you can build huge momentum with your power hand cross so it can be much more powerful than a cross thrown from a basic stance.
This stance is a great option for you if you are an out boxer (someone who likes to fight from a distance and move a lot and often use the jab).
Cons: You can easily lose balance when you get caught with hooks (especially left hooks) or even when throwing rear hand hooks. You don’t have much power in your lead hand so your only real weapon is your rear hand cross (which is far away from the opponent so sometimes it’s hard to catch him with it).
The other drawback of this stance is that you are really mobile but only when it comes to linear movements. You can quickly move back or forward but it’s hard to move left and right which sometimes is really important (for example when you’re pressed against the ropes).
I recommend using this guard when you really don’t want to close the distance between you and the other fighter. For instance that can happen when fighting against a hard puncher with a shorter reach than you. If that’s the situation, you can use the sideways stance to maintain a distance, jab him a lot and eventually catch him with your cross. Even if you can’t knock him out, you will probably land more punches and win on points.
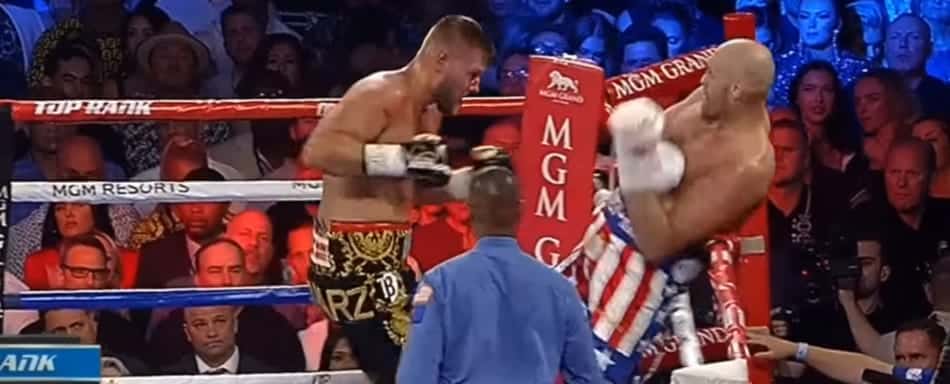
Squared stance
Power: 8/10
Range: 4/10
Balance: 4/10
Mobility: 6/10
The squared stance is commonly used in Muay Thai. I like it because when using it you have power in both your hands (unlike the sideways stance). This stance can be really effective when your opponent is trapped against the ropes because you can use the squared stance to put even more pressure and prevent him from escaping. And, of course, to land powerful shots with both your hands.
Something similar happened in the fight between Maidana and Maywheater where Marcus Maidana used a squared stance to press Mayweather against the ropes and to land hard right overhands.
How to do it:
Do the basic boxing stance. Then move your right foot 3-4 inches to your right and your left foot 3-4 inches to your left. That’s it. You are in a squared stance now.
Pros: You can throw powerful shots with both your hands and you can easily move to your left and right or to pivot at an angle.
It’s a great stance when you’re fighting from the inside and using the swarmer boxing style. Or as I already mentioned, when your opponent is pressed against the ropes.
Cons: This stance leaves your body open for punches, because when using it you become a bigger target, so it’s harder to defend yourself everywhere. Another disadvantage of the squared stance is that you can lose balance easily if your opponent pushes you back or if you get a hard punch in the head. That’s why I recommend using it mainly when the other boxer is on the ropes. There you can lean on him to keep your balance.
The reach of your punches isn’t great – you can’t use the maximum reach of your straight punches, like when using, for example, the sideways stance. The last drawback is that, with this stance, you can quickly move to your left or right, but you will be much slower when it comes to moving backward or forward.
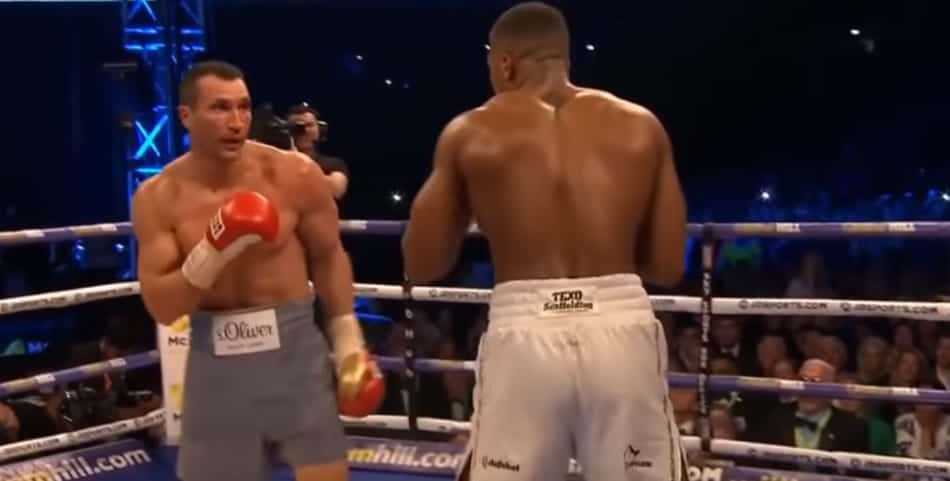
Boxing guard
In my opinion, (similarly when it comes to boxing stances) there isn’t a guard that you should use all the time. You can change your guards during a fight depending on the situation. For example, if you face a defensive opponent you can use a loose guard or even keep your hands down to bait him to attack you. On the other hand, when fighting against an aggressive boxer, a defensive guard such as the Philly Shell is a great option.
Some boxers change their guards multiple times in a fight. A great example of this is Floyd Mayweather. He usually uses the Philly Shell guard but when fighting against opponents who like to fight from a distance, he switches in a high guard and starts walking them down.
Scoring
When we talked about the boxing stances there were attributes such as power, mobility, and balance. But when it comes to guards the only two attributes that are relevant are the defensive ability and the offensive ability. So I scored all the guards using a 10-point scale for both attributes – defense and offense.
Techniques
For every guard, I described my favorite counterpunching technique that you can try in your next sparring session when using the given guard.
* Counter punching basically means to block, parry or dodge a punch and to throw a blow or a combination in return *
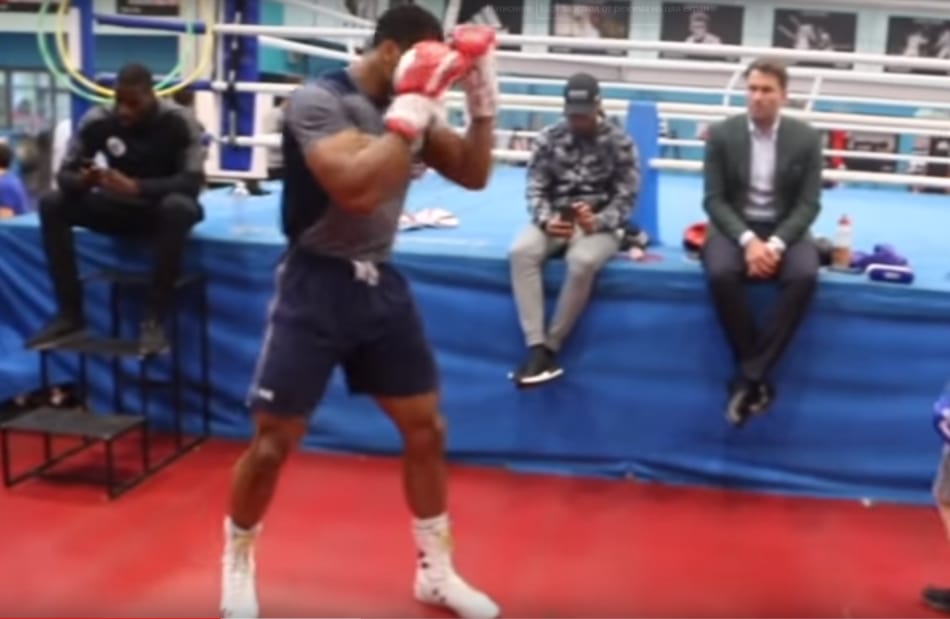
Basic Guard
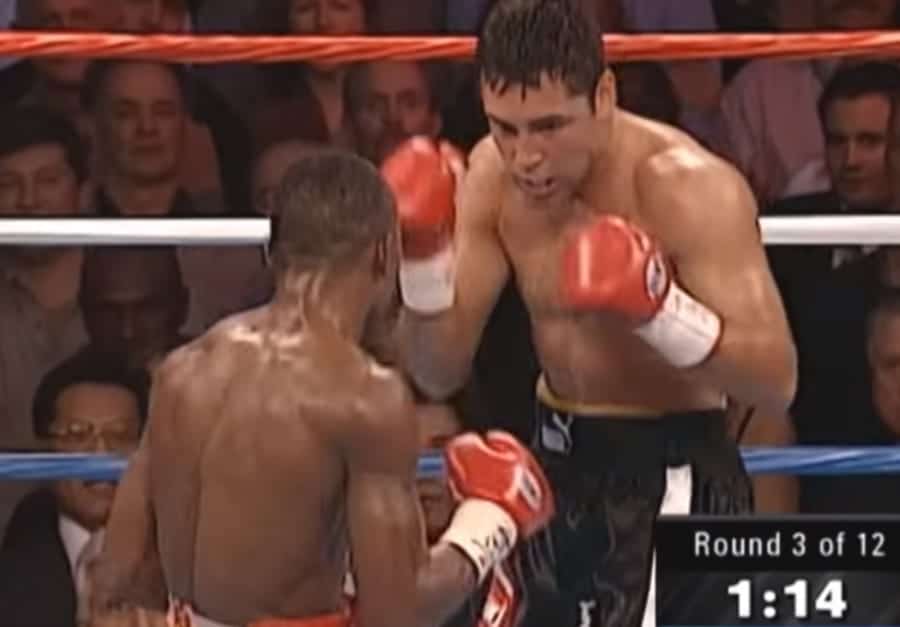
Offense: 5/10
Defense: 5/10
By using the basic guard you are able to block the jabs and the lead hooks with your rear hand (when fighting someone in the same stance as you). While with your lead hand, you can maintain a distance, using your jab or to block power hand punches such as the cross, rear hand hooks or overhand by keeping your hand to your head. To block body shots you need to use your elbows and not your hands. That’s because you don’t want to leave your head open as you’re trying to block a body shot with your hand.
The basic guard is great for out boxers.
Technique:
Parry the jab -> Throw your own jab in return – To do this counterpunching technique, you simply need to wait for your opponent to throw his jab, to catch the jab with your rear hand glove and to throw a jab to his head as it’s unprotected. It’s one of the first (if not the first) counterpunching technique you learn as you start boxing. And it’s a great way to land a clean jab to the head.
When you do it it’s important to not trying to reach for the jab. Keep your glove on your cheek and wait for the punch to come. Then just slightly push it aside when it’s roughly 2-3 inches in front of your head. It can be scary at the beginning but after a few repetitions with a sparring partner, you will get the timing.
And when fighting with someone in the opposite stance (for instance you’re in an orthodox stance and your opponent is a southpaw), you can do the same thing but using your lead hand. Just push his glove down as he throws the jab and then counter with your own jab. It’s really simple, yet effective.
High guard
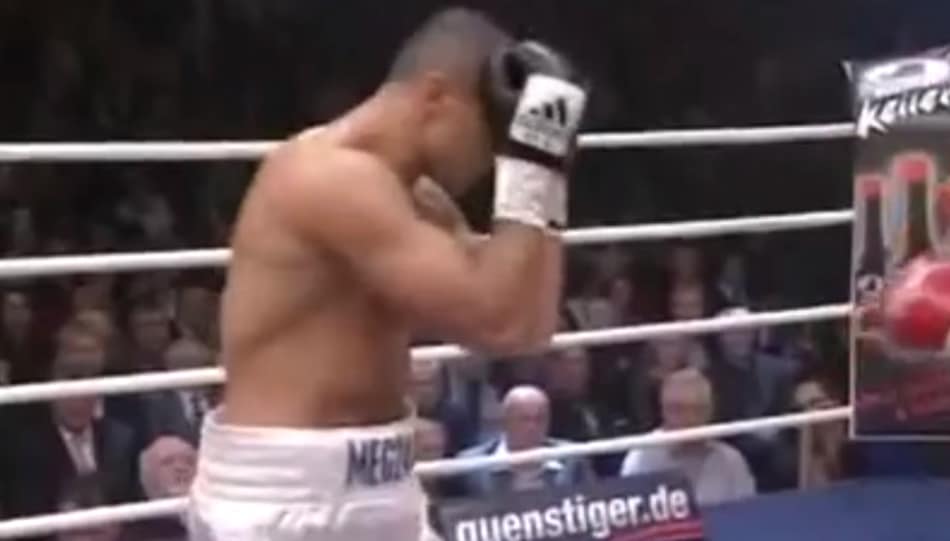
Offense: 4/10
Defense: 7/10
A great guard you can use when you want to walk your opponent down and to close the distance. It’s one of the best guards for pressure fighters. That’s because it’s very effective when it comes to protecting the head.
The only drawback of that stance is that it leaves your body open. So you need to be aware that your opponent will probably try to land body shots as you’re trying to close the gap.
How to do it:
Keep your hands on your forehead. Your index fingers should be right above the eyebrows and your palms should be facing each other. Keep your hands a little bit open (don’t make fists). That way you will be able to see through the gloves and you won’t block your vision completely. And again the chin and the elbows should be tucked in.
Keep in mind that when using the high guard and trying to walk your opponent down, you are probably going to get some shots in the head. Although your gloves are there, such punches can hurt you. So try to close the distance as soon as possible and start landing shots.
Technique:
Counter the body shot – It’s much easier to counter your opponent when you know what he is going to do. And as I already mentioned when using the high guard your body is vulnerable. So chances are the other boxer will try to land body shots. And that’s a perfect opportunity for you to counter him.
Try to catch him with a straight punch down the middle as he opens himself to throw the body shot or catch him with an uppercut as he lowers his body.
Philly shell guard
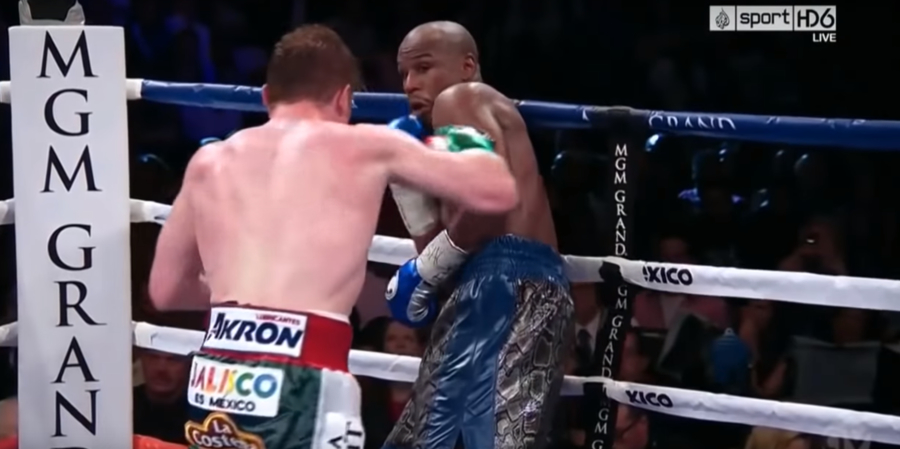
Offense: 3/10
Defense: 8/10
That’s maybe the best guard in boxing when it comes to defense. If you combine this guard with the sideways stance, you will make it very hard for your opponent to catch you. But to use this guard effectively you need to have speed, good timing, and high fight IQ. That’s why it’s an advanced guard and I don’t recommend using it if you are a beginner.
Also, I don’t recommend using the Philly Shell when fighting against someone in the opposite stance. That’s because that guard will probably leave yourself too open for crosses and power hand hooks.
The Philly Shell guard is great for counter punchers.
How to do it:
Your rear hand should be on your cheek (similarly when using the basic guard). Keep your lead shoulder up, protecting the chin. Your lead arm should protect your body. The lead glove should be on your rear hip.
Also, as I already said, stay in a sideways stance. That way you’re protecting everything – your lead shoulder is protecting your chin, the rear hand is protecting the other side of your face, while your whole body is protected by the lead arm and the rear elbow.
Technique:
Shoulder row -> Counter cross – That’s probably the most famous technique you can use with the Philly Shell guard. Because of it, some people even call the guard “Shoulder roll”, instead of Philly Shell.
To do it correctly you need to deflect the punch with your shoulder and then to catch your opponent with a quick cross as he is open. This is an advanced technique but that doesn’t mean you can’t try it with your sparring partner next time you go to the gym.
First, bait your opponent to throw a straight punch. You can do that by simply staying in a squared stance in a distance where your opponent can catch you only with a straight punch. Chances are, the other boxer will see the opening and will try to take advantage of it.
As he throws the shot you need to turn your upper body to your right so you can meet the punch with your shoulder (or to your left if you’re in a southpaw stance). Then use this movement to load the cross and release it as you turn your body to the other side. After that, you can duck under possible counters and move away. Boxers such as Floyd Mayweather love that technique.
Peek-a-Boo
Offense: 9/10
Defense: 4/10
That was the guard which fighters such as Mike Tyson and almost every of the Cus D’Amato’s boxers used. It’s something like a combination of the basic and the high guard.
This guard is really effective if you are an infighter (boxer who fights at a close distance) and it works pretty well with the squared stance. This is a really offensive guard and its only drawback is that you need a really good head movement and slipping ability if you want to use it effectively. Otherwise, you will get tagged when you’re trying to close the distance.
Many people think that Mike Tyson was an aggressive pressure fighter but he was actually an aggressive counter puncher. He walked his opponents down but he always waited for them to throw the first punch. Then he usually slipped the punch easily and threw his devastating counters. So if you want to use the Peek-a-Boo guard you really need to work on your head movement, timing, and slipping ability.
How to do it:
Keep both your hands on your face right above of your eyes (the gloves shouldn’t block your vision). Your palms should be facing you. The elbows and the chin should be tucked in (as always) and your knees should be slightly bent.
Technique:
Slip the jab inside -> Counter with an overhand right – One of the most devastating ways you can counter a jab. What you need to do is to time the jab, to slip it inside (to move your head to your left) and to land a right overhand over your opponent’s jab. If you land it clean, you can even score a KO.
And if you are a southpaw fighter, facing another southpaw, you can do the same thing but landing overhand left instead of right (and moving your head to your right).
Low lead-hand guard
Offense: 8/10
Defense: 2/10
This is a baiting guard, very similar to the Philly Shell but with no protection from your lead shoulder. The idea is to make your opponent throw a punch by leaving yourself open (to bait him) so you can counter. It’s not very effective when it comes to defense but it’s working when you want to make a defensive boxer open himself, so you can catch him. You can do this by leaning back, to dodge the shot, slipping it, or ducking under it and then countering.
But it can be really bad for you if you aren’t quick enough or if you make a mistake. For example, if you think that your opponent is going to throw a hook and you want to duck under it but then he throws an uppercut you will fall right into the shot. Which can be devastating.
That’s very risky guard, so I recommend using it only if you are really confident in your overall defensive skills – head movement, distance judging, timing, footwork etc.
How to do it:
Do a Philly Shell guard but stay a little more squared to your opponent. Also, your lead arm should stay loose, showing the other boxer that you’re vulnerable. This guard is like showing your face and saying: “C’mon hit me!”
Technique:
Lean back to dodge the hook/straight punch -> Counter with a lead hook – Bait your opponent to throw a right hand (when fighting against orthodox boxer). By opening your left side. Then lean back just enough to dodge the shot and throw a left hook over the top as you do so. It’s really effective especially when fighting against shorter opponents because they will probably overextend themselves as they ‘re trying to catch you.
The Low lead-hand guard works great with a wide stance. Because when you are in a wide stance you aren’t very mobile but you’re able to lean back quickly. Also, the wide stance allows you to throw heavy counters.
And again I recommend using the Low lead-hand guard only if you are confident enough in your skills or in friendly sparring sessions.

Hello brother i love the information that u share with me sooo much informative thanks a lot